Advertisement
A cracked or malfunctioning screen on the iPhone 17 Pro Max can ruin the user experience and leave the device vulnerable to further damage. This guide walks you step-by-step through a full screen replacement from preparation and teardown to assembly and testing. It’s written for experienced DIYers and technicians comfortable with small electronics repair. If you’re not confident, consider a professional repair service.
Disclaimer
Performing a repair may void warranties and risks further damage. Power down the device and work in a static-free environment. Follow all safety precautions. This guide assumes you have experience with smartphone repairs.
What you’ll need
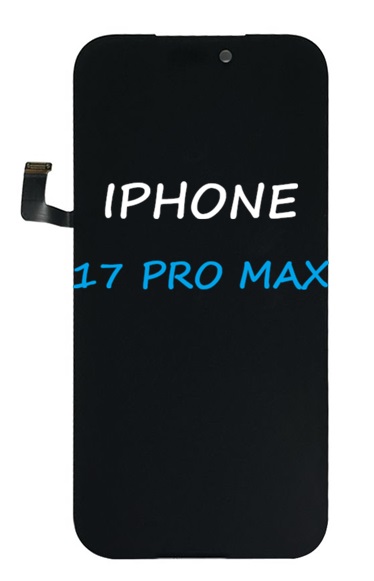
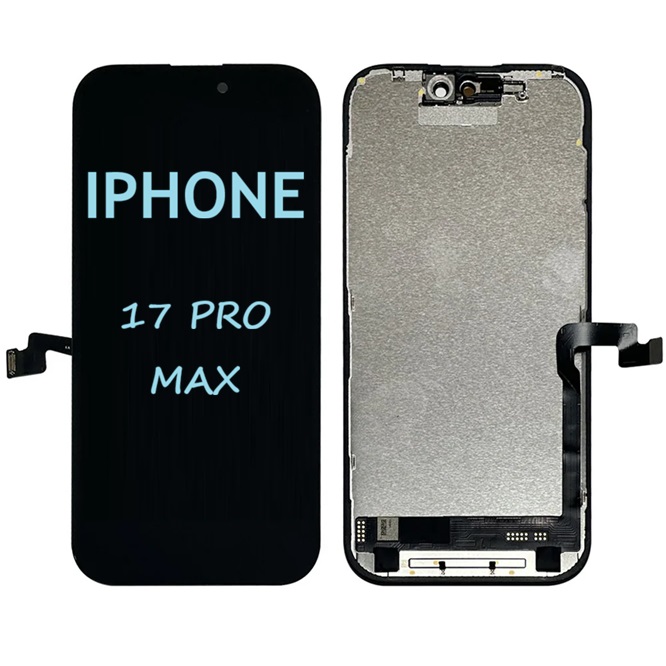
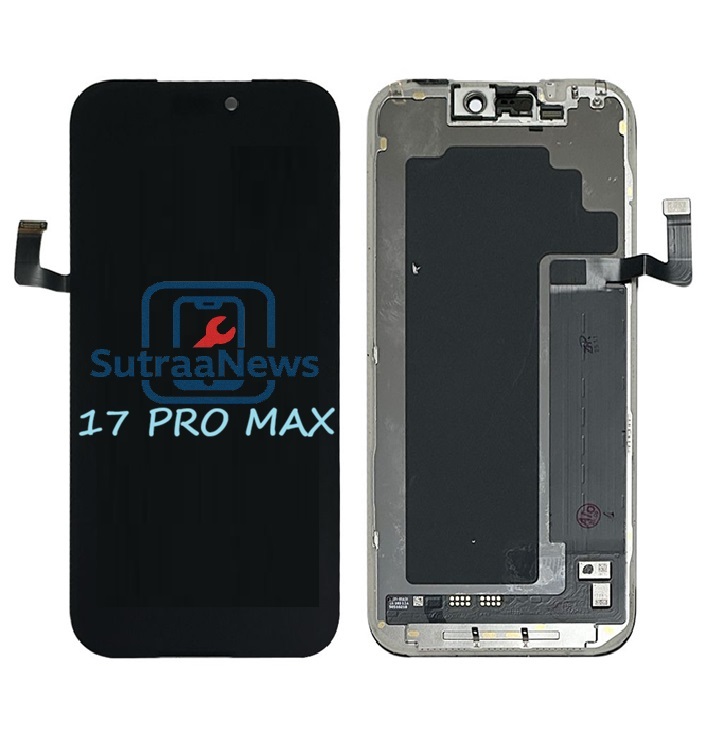
Replacement screen assembly specifically for iPhone 17 Pro Max (verify OEM or high-quality aftermarket)
Pentalobe (P2) screwdriver
Advertisement
Tri-point Y000 screwdriver
Phillips #000 screwdriver (if needed)
Spudger (plastic)
Nylon or metal opening picks
Suction cup with adapter
iOpener or heat gun and hot plate (temperature-controlled)
Plastic or nylon tweezers
Magnetic project mat or tray for screws
Isopropyl alcohol (90%+) and lint-free cloth
ESD-safe wrist strap (recommended)
Adhesive strips and screen adhesive pre-cut for iPhone 17 Pro Max
Replacement waterproof gasket (if available)
Small pick or tweezers for adhesive removal
Optional: magnifying lamp, UV curing light for adhesive if using UV-curable glue
Preparation
1. Backup the phone: Ensure the device is backed up to iCloud or a local computer.
2. Power off: Fully power down the iPhone.
3. Workspace: Clean, well-lit, ESD-safe workspace. Organize tools and a magnetic screw mat.
4. Match parts: Verify the replacement screen is correct (size, connector type, sensor cutouts) and test-fit on the frame before adhesive.
Step-by-step screen replacement
1. Remove pentalobe screws
– Remove the two P2 pentalobe screws adjacent to the Lightning port. Keep them sorted on your tray.
2. Soften the adhesive
Apply controlled heat along the edges of the screen using an iOpener or heat gun at low setting (approx. 60–70°C / 140–158°F) to soften adhesive. Avoid direct overheating on camera and sensor area.
3. Create an opening gap
Place a suction cup near the bottom edge (not the curved corner). Pull gently to create a small gap. Insert a thin pick or opening tool into the bottom edge. Work slowly to avoid cracking remaining glass.
4. Slide the picks around the perimeter
With one suction cup holding slight lift, slide opening picks along the sides to cut the softened adhesive. Leave the top area near the front camera and sensor assembly for last. For heavily cracked screens, use multiple points of suction or use a heat pad and careful prying.
5. Open the display like a book
Gently open the display from the right side like a book, pivoting up while exposing the internal components. Do not open past about 90 degrees; the display is still attached by cables at the top.
6. Disconnect battery
Remove any shielding screws and metal battery connector bracket (use correct screwdrivers; screws differ in length). Disconnect the battery connector with a plastic spudger to avoid shorting.
7. Remove display connectors
Remove shields over the display and sensor flex connectors front camera and sensor, OLED or display, digitizer. Keep screws organized and note locations. Carefully disconnect each flex using a spudger.
8. Remove the display assembly
Once connectors are free and battery disconnected, remove the display assembly completely.
9. Transfer components if needed
If your replacement screen does not include sensors and camera bracket, transfer the following from the old screen to the new one
Front camera or sensor assembly punch hole area
Earpiece speaker and mesh
Proximity and ambient light sensors
Any metal brackets or flex cable holders
Use caution: these parts are delicate and alignment matters for Face ID and sensor function.
10. Clean the frame
Remove leftover adhesive from the frame using an adhesive remover or isopropyl alcohol and a plastic pick. Remove any debris and old adhesive in the channel. Ensure the frame is dry before applying new adhesive.
11. Install new adhesive and gasket
Apply pre-cut adhesive strips to the chassis frame. If a new waterproof gasket is included, install it per part instructions. Ensure adhesive aligns with speaker port and sensor Use OEM or high-quality parts for best performance (color calibration, True Tone).Consider having calibration tools or software if colorb True Tone mismatch occurs after replacement.
Safety and warranty notes
Replacing the screen may void Apple warranty and AppleCare. If warranty matters, consider Apple or authorized service.
IPhone 17 Pro Max has complex sensors and cameras; professional service minimizes risk to Face ID and other features.
Proper disposal of broken glass and electronic components is recommended.
SEO Meta description (160 chars)
Full, step-by-step guide to replacing the iPhone 17 Pro Max screen safely tools, teardown, component transfer, testing, and troubleshooting.
Suggested tags and keywords
iPhone 17 Pro Max screen replacement, iPhone repair guide, smartphone DIY repair, replace iPhone screen, Face ID sensor transfer, OLED replacement
2. Copy the blog content above and paste into the document.
3. Insert your photos at the placeholder locations and add captions.
Advertisement